Customize adobe pdf settings, Create a custom adobe pdf settings file – Adobe Acrobat XI User Manual
Page 147
140
Creating PDFs
Last updated 1/14/2015
The most widely used standards for a print publishing workflow are several PDF/X formats: PDF/X-1a, PDF/X-3, and
(in 2008) PDF/X-4. The most widely used standards for PDF archiving are PDF/A-1a and PDF/A-1b (for less stringent
requirements). Currently, the only version of PDF/E is PDF/E-1.
For more information on PDF/X, PDF/E, and PDF/A, see the ISO and AIIM websites.
For details on creating and working with PDF/A files,
.
Customize Adobe PDF settings
You may want to create custom conversion settings for certain jobs or output devices. The selections you make
determine such things as whether the document fonts are embedded and subsetted at 100%, how vector objects and
images are compressed and/or sampled, and whether the resulting PDF includes high-end printing information such
as OPI (Open Prepress Interface) comments. Default settings files cannot be modified, but can be duplicated to help
create new settings files.
Note: If the PDF is intended for high-end printing, ask your service provider for their custom .joboptions file with the
recommended output resolution and other settings. This way, the PDF you give them will have characteristics optimized
for your print workflow.
Create a custom Adobe PDF settings file
1
Do one of the following:
• In Acrobat Distiller, select one of the predefined sets of options from the Default Settings menu to use as a
starting point, and then choose Settings > Edit Adobe PDF Settings.
• In authoring applications or utilities, select Adobe PDF as the target printer—typically in the Page Setup or Print
dialog boxes—and click Properties.
• (Windows) In the Acrobat PDFMaker dialog box, click Advanced Settings in the Settings tab.
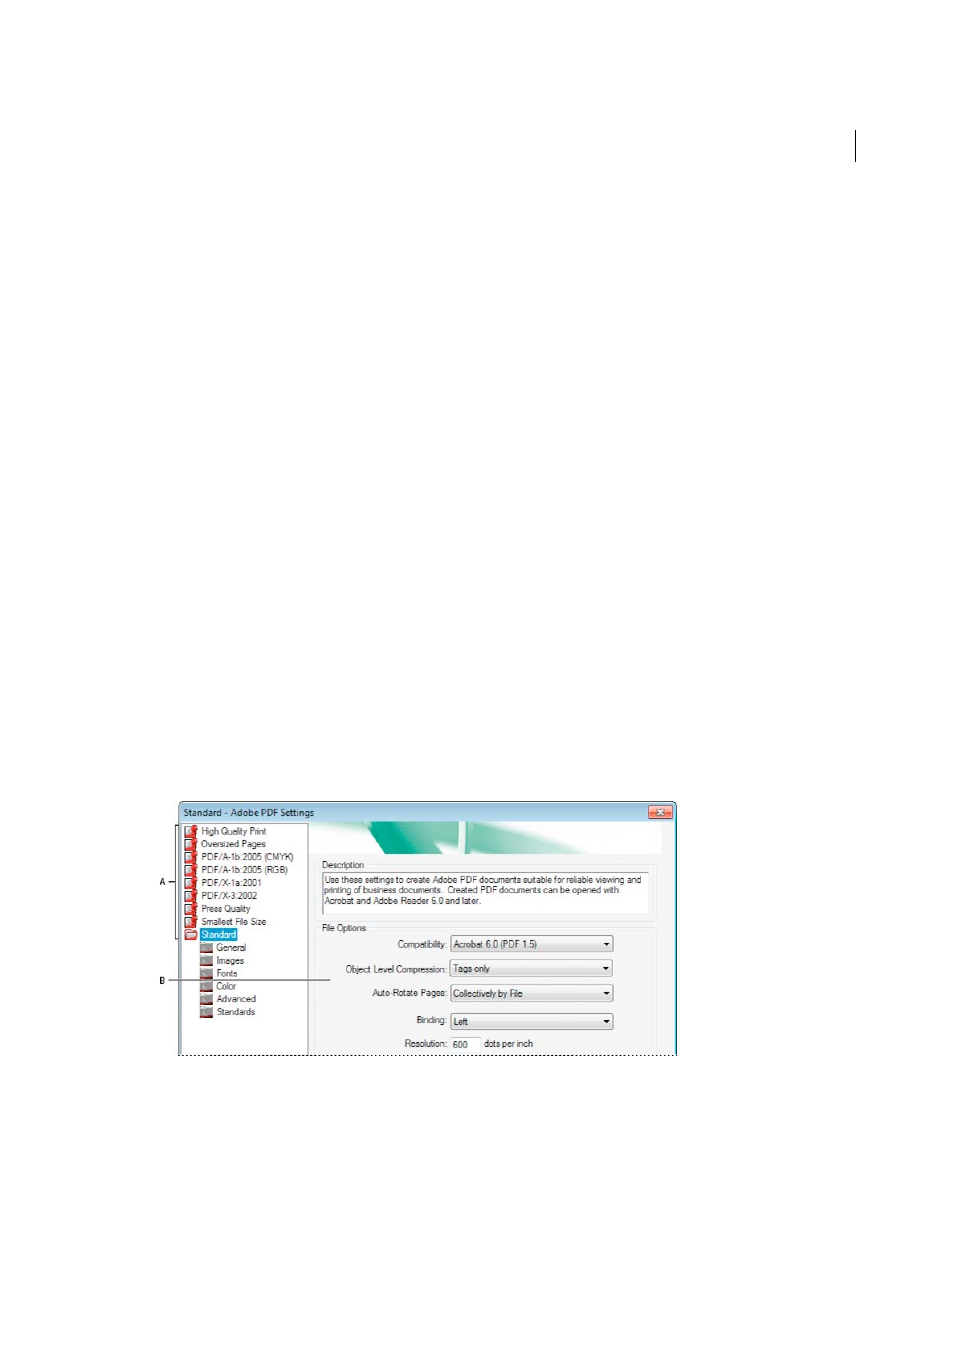
note
: In Windows, you can switch to a different preset from within the Adobe PDF Settings dialog box. To do
this, select Show All Settings at the bottom left and then select a preset from the list on the left.
2
Select panels one at a time, and make changes as needed.
3
Save your customized preset in one of the following ways:
• Click OK to save a duplicate of the custom preset file, which will automatically be renamed. For example, if you
edit the Press Quality preset, your first customized version appears as Press Quality (1).
• Click Save As, type a new descriptive name for the file, and click Save.