Alphabetizing symbols, Automatic register number allocation for symbols, Automatic d and m register number allocation – Yaskawa MP900 Series Machine Controller for Standard Operation User Manual
Page 378

7.2 Setting Drawing Properties
7-11
7
not automatically deleted. These superseded symbol names should be deleted by the user,
but they cannot be deleted from the program window.
The procedure to delete symbol names is given below.
1. Move the cursor to the symbol name to be deleted.
2. Select Edit (E) and DEL (D) from the programming menus.
The row selected in step 1. will be deleted.
Alphabetizing Symbols
The following procedure can be used to display symbols in alphabetical order.
• Select View (V) and then Sort (S) from the programming menus.
The symbol names will be displayed in alphabetical order.
Automatic Register Number Allocation for Symbols
All symbols in the AUTO range will be automatically allocated to register numbers starting
with any number.
If a symbol name is entered that has not been allocated to a register number in the program
window, meaning the symbol has not been defined, open the Symbol Definition Tab Page to
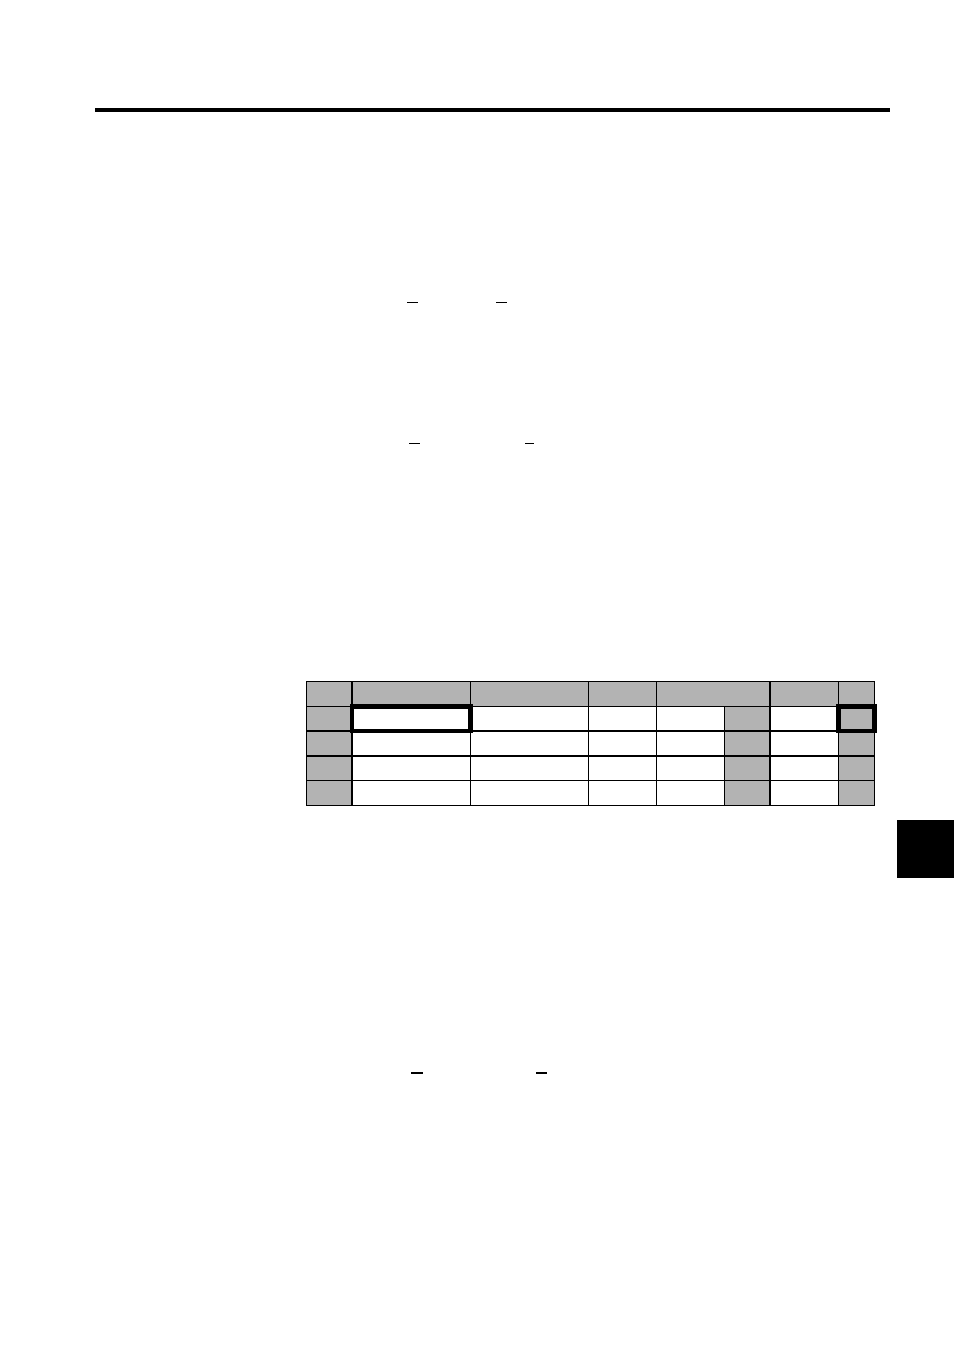
display the symbols in a table like the one shown below.
Normally, symbols would be automatically allocated when the Range column shows AUTO.
If, however, a register number has already been set in the No. of Register column, either by
previous automatic allocation or manual input of register numbers, symbols will not be allo-
cated automatically for those register numbers even if the Range column shows AUTO.
Automatic D and M Register Number Allocation
Symbols can be automatically allocated to D and M registers starting from a specified num-
ber. Use the following procedure to automatically allocate D and M registers.
1. Enter the symbol definition data to allocate as shown below.
2. Select Data (D), Auto Number (A), and then AUTO (A) from the programming menus.
3. The Automatic Symbol Allocation (D, M) Window will be displayed. Input the leading
register numbers from which to allocate local registers (D) and global registers (M), and
then click the Set Button.
The register numbers will be automatically allocated and displayed.
In this example, DATA1 is set to integer D register data with a data size of 1, DATA2 is
set to real number M register data with a data size of 1, and DATA3 is set to integer M
No.
Symbol Name
No. of Register
Size
Range
Initial
▲
01
DATA1
H0001
AUTO
▼
*
02
DATA2
H0001
AUTO
▼
*
03
DATA3
H0001
AUTO
▼
*
04
▼