Yaskawa MP900 Series Machine Controller for Standard Operation User Manual
Page 62
2.1 File Manager
2-29
2
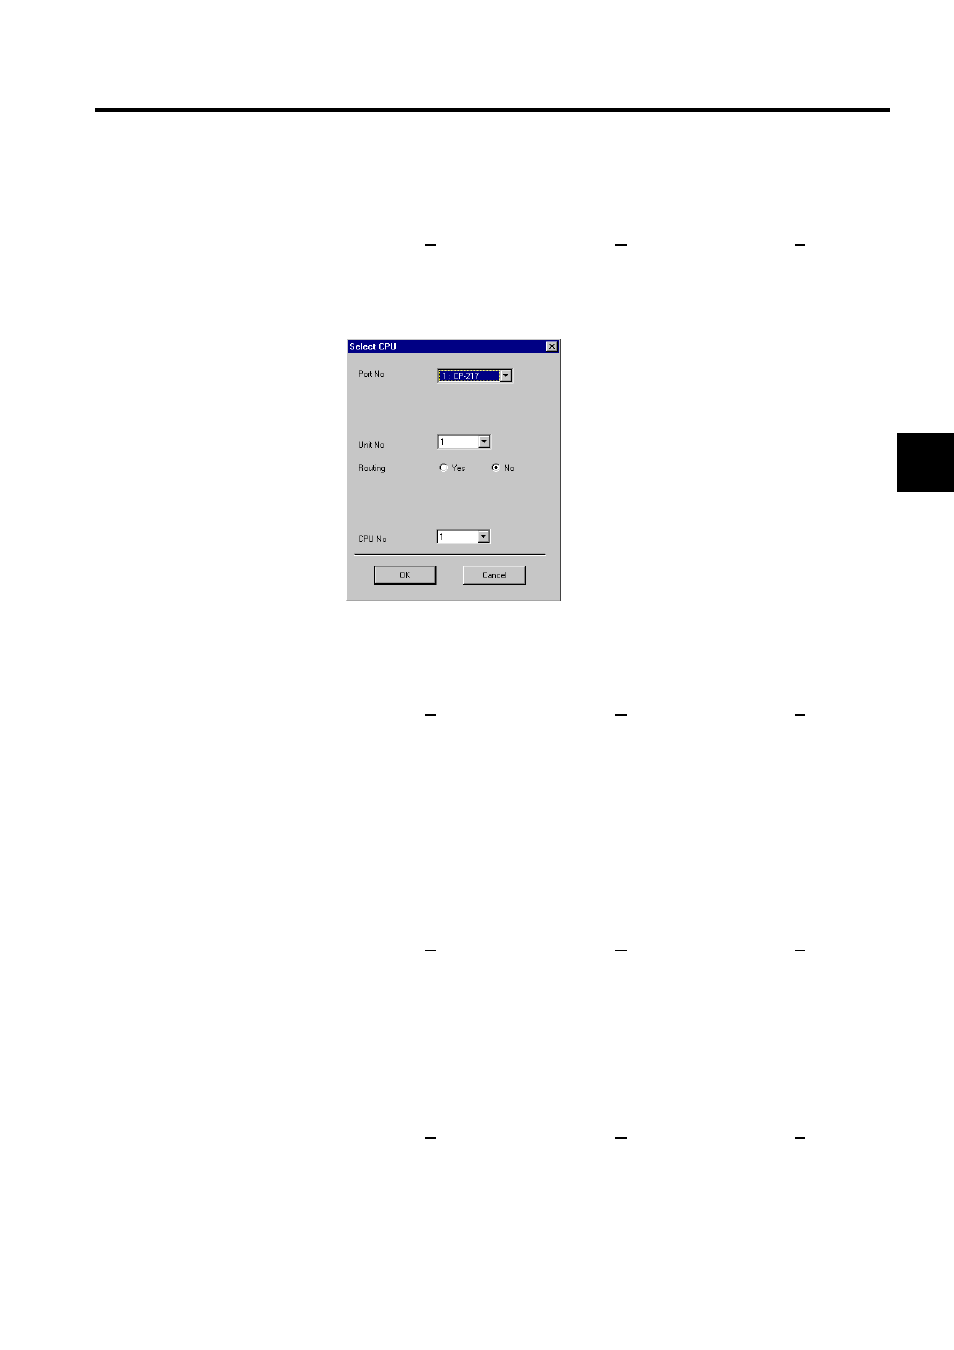
If the transfer source or destination is a Machine Controller, the communications set-
tings or CPU used in the transfer can be changed.
a) Click View (V) and then Change Source (O) or Change Destination (R) on the File
Transfer Menu. The transfer source and transfer destination can also be changed by
clicking the Change Button.
b) Input the communications information in the dialog box, and click the OK Button.
2. Changing Floppy Disk Transfer Directories
If the transfer source or destination is a floppy disk, the floppy disk drive number and
the PLC folder name can be changed.
a) Click View (V) and then Change Source (O) or Change Destination (R) on the File
Transfer Menu. The transfer directory can also be changed by clicking the Change
Button.
b) Set the floppy disk drive number and PLC name in the dialog box, and click the OK
Button. Enter the PLC name as the directory name on the floppy disk up to 8 charac-
ters maximum.
3. Changing Hard Disk Transfer Directories
If the transfer source or destination is a hard disk, the PLC information on the hard disk
can be changed.
a) Click View (V) and then Change Source (O) or Change Destination (R) on the File
Transfer Menu. The Select CPU Window will be displayed. The PLC name can also
be changed by clicking the Change Button.
b) Point to the appropriate Machine Controller name, and click the OK Button.
4. Changing Transfer Drives for Other Media
If the transfer source or destination is a magneto-optical disk or other medium, the drive
number and path name can be changed.
a) Click View (V) and then Change Source (O) or Change Destination (R) on the File
Transfer Menu. The folder name can also be changed by clicking the Change Button.
b) Set a new drive number and transfer path name in the dialog box, and click the OK
Button.