RISCO Group ACUS User Manual
Page 129
User Manual for ACUS
Uncontrolled
when
printed
©
RISCO
Group
101
3. In
the
Create ID Range field, enter the ID’s for which you want to create a set in the
From and To fields. For example, enter 50 in From field and 55 in To field. Six person
ID’s will be created once you save.
Note: The Card ID’s should not contain the ID’s that are already in use.
4. Select the language for these persons from the Language drop-down list.
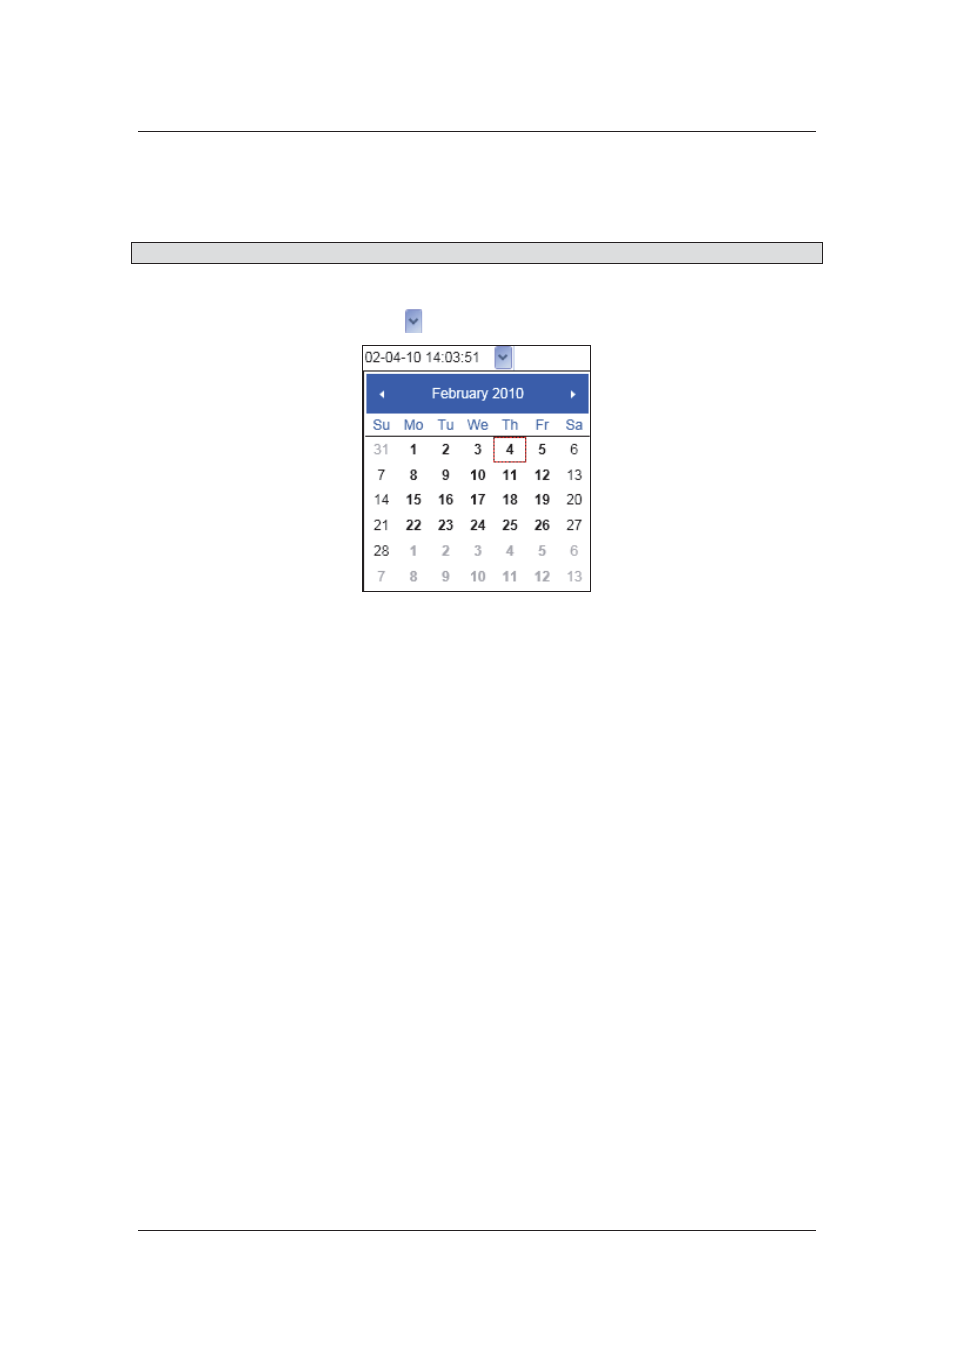
5. In
the
Validation field, click
. The Calendar appears.
Figure 100: From Date
6. Select the date from when the person should be considered as valid in the system.
7. Enter the time from when the Person should be considered valid, next to the date. The
time is in the 24 hour format.
8. Similarly, select the Date and Time in the To field. This is the date till when the person
will be considered valid in the system. This date and time will be greater than the Valid
From date and time.
9. Enter the time till when the Person should be considered valid, next to the date. The
time is in the 24 hour format
You can additional attributes that appear in the Work Info area on the screen. For details to add
additional attributes, refer to
5.18.1
Add Additional Attribute
.
You can mark the Persons in this set as absent and forbid access to the section. To manage
absentee:
10. Select the No Access check box.
11. Enter the period from when the persons in this set will not be provided access to this
section in the From and To fields.
12. Enter the reason for not providing access to this person set in the Reason field.
13. Click the Cards and Authorization tab.