RISCO Group ACUS User Manual
Page 207
User Manual for ACUS
Uncontrolled
when
printed
©
RISCO
Group
179
3. Enter the description for the relay in the Description field.
4. Select
the
Relay Enabled During check box and select the schedule from the drop-
down list.
5. Enter the duration for which you want the relay to be switched off and in continuous
impulse in the Activation Delay field. The delay is in seconds.
6. Enter the pulse duration in the Pulse Duration field. Pulse Duration is the duration for
which the relay is in the ON state. The Pulse Duration is in seconds.
7. Click . The list of locations is displayed.
8. Select the location of the relay and click OK. The location is displayed here..
9. Select the relay mode from the Mode drop-down list.
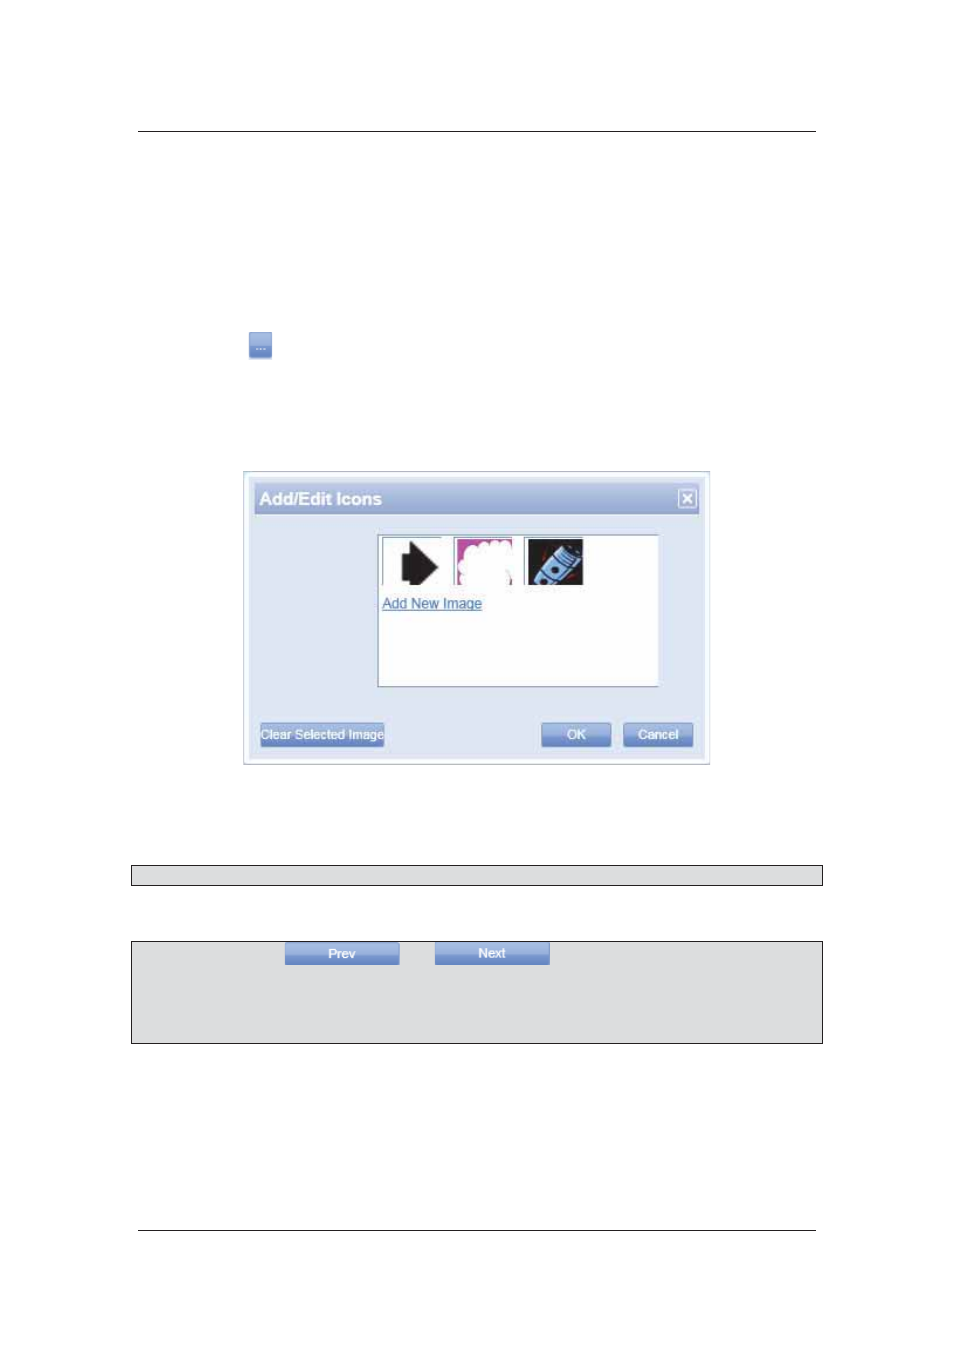
10. You may assign an icon for the Relay. Click Show Image List. The Add/Edit icons
window appears.
Figure 178: Add/Edit Icons
11. Choose an image and click OK. The image is selected for the sensor. You many click
Add New Image to add a new image to the list.
Note: Click Clear Selected Image to remove the image from the list.
12. Click Save. The message appears, “Relay updated successfully”.
Note: You may click
and
to move to the earlier or next relay
details in ACUS.
Note: All fields marked with an asterisk (
*
) are mandatory. At any point in the time, you can click
Cancel to quit the task and return to ACUS Home page.