RISCO Group ACUS User Manual
Page 472
Advertising
User Manual for ACUS
Uncontrolled
when
printed
©
RISCO
Group
444
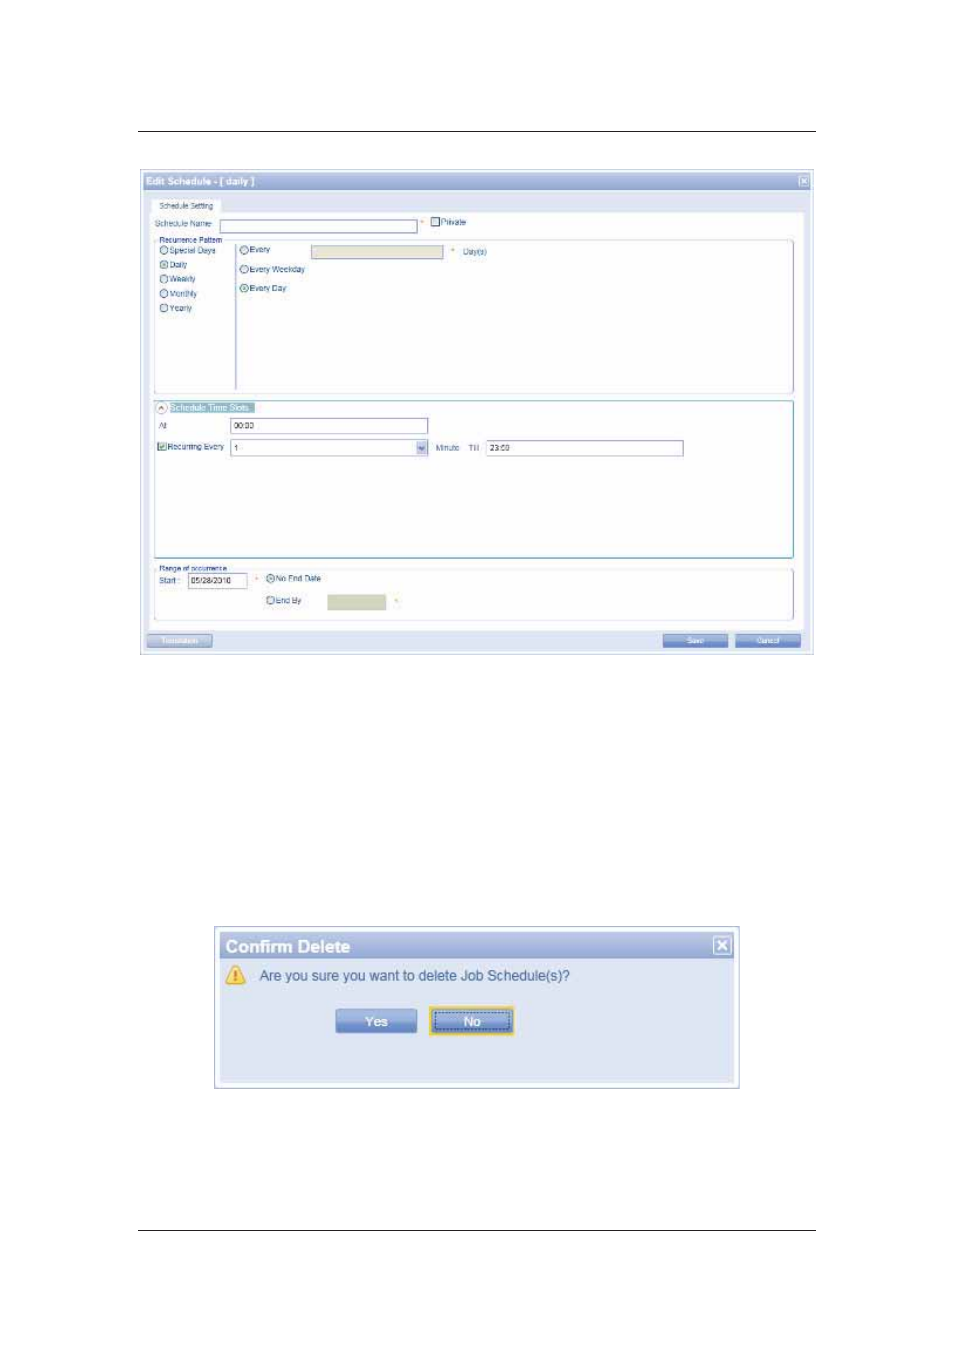
Figure 469: Duplicate Schedule
3. The schedule name field is blank. Enter the name of the new schedule. The rest of the
settings are same.
4. Make changes wherever desired and click Save. The message appears, “Schedule
created successfully”.
21.4 Delete a Schedule
To delete a schedule:
1. On the ACUS home page, click Settings
→ Schedule → Job Schedule. The Job
Schedule List with the list of schedules appears.
2. Select a schedule and click Delete. The Confirm Delete dialog box appears.
Figure 470: Confirm Delete Job Schedule
3. Click
Yes. The message appears, “Schedule deleted successfully”.
Advertising