RISCO Group ACUS User Manual
Page 413

User Manual for ACUS
Uncontrolled
when
printed
©
RISCO
Group
385
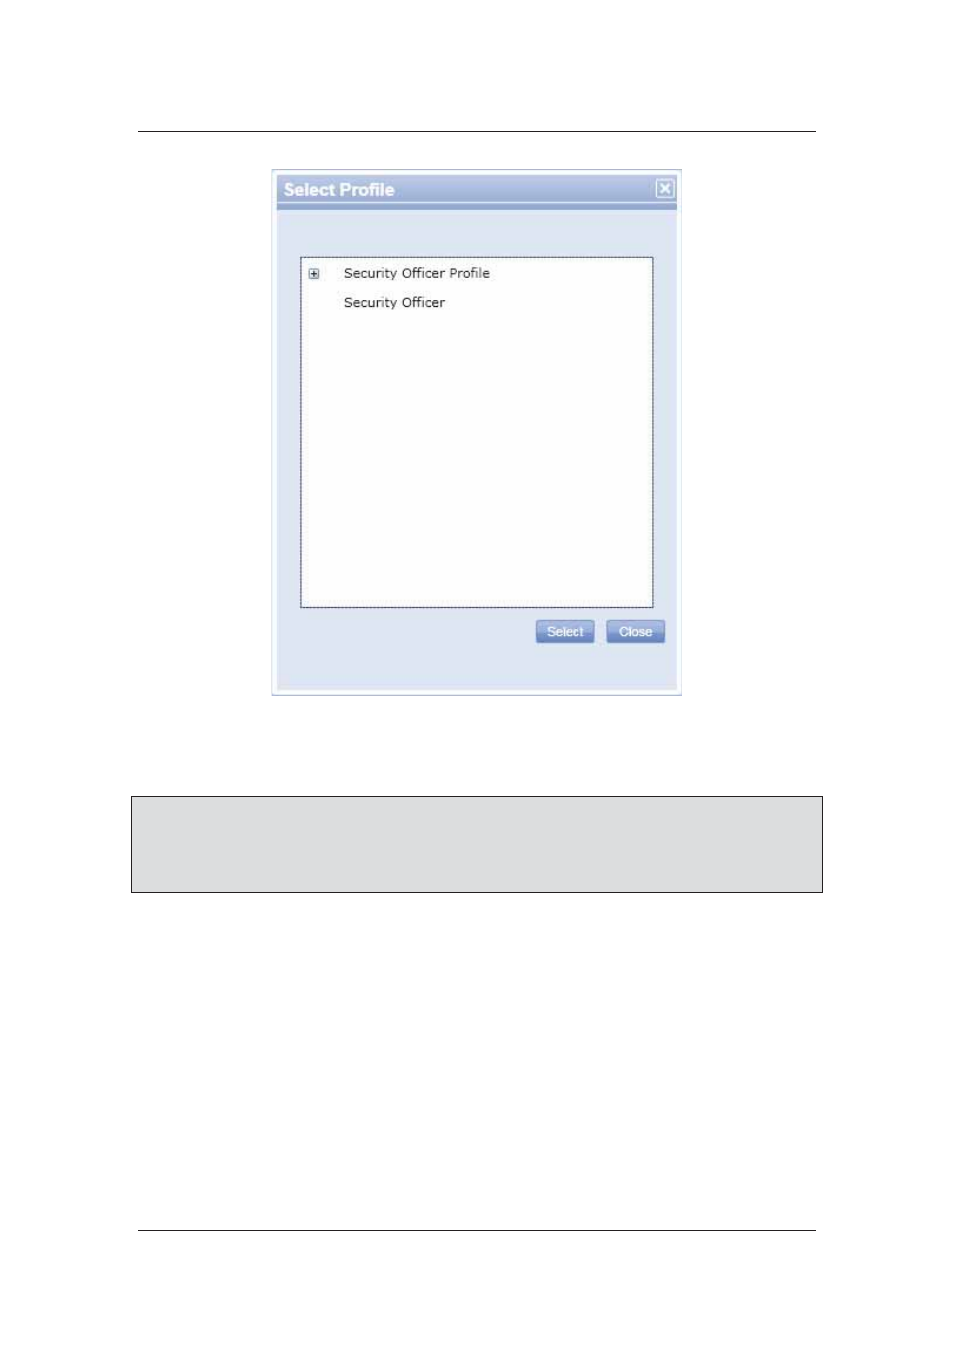
Figure 402: Select Profile
7. Select the profile that you want to assign to this user and click Select. The profile name
appears in the Profile field.
Note: The list of profiles appears as per the role selected for the user. For example, if you select
Manager or Security Officer from Role drop-down list, then the list of profiles will differ.
Note: If you want to change or edit the user profile, click Edit Profile. The User Profile window
appears. For details on how to edit user profile, refer to
18.3.1
Edit User Profile
.
8. Select
the
Audit Trailing check box if you want to enable the audit function. When you
select this check box, all the changes that you make to any entity in Users is recorded
and presented in a log.
In the Contact Details area, you can select the communication medium through which you want to
mark the user for notifying events.
9. Select
the
MarkForNotification check box if you want to ensure that the user’s contact
details appear in the list when someone clicks the Call Security Officer, Call Guard,
or Call Receptionist buttons on the dashboard.
10. Select the phone type from the Device Type drop-down list. For example, select
Office.
11. Enter the Office Phone Number in the adjacent field. You can provide maximum three
contact numbers that is Cell Phone, Office Number and Home contact number.
12. Enter the email address of the user.