Sony GP-X1EM Grip Extension User Manual
Page 180
180
Ping-Pong:
When the playback stop point is reached,
playback continues in the reverse direction until the
playback start point, and then repeats.
To play audio data
Press [Audio], turning it on.
For details about audio data, see “Frame memory audio
data” (page 172).
To change the playback speed
Press [Variable Speed], turning it on, and set the following
parameter.
To cue up
Press [Cue].
To move to the start of a clip
Press [Rewind].
To move to the end of a clip
Press [FF].
To set the playback start point
To set the current position as the playback start point, press
[Set] in the <Start TC> group.
To set a different position, press the [Start] icon display in
the status area, and enter a timecode value in the numeric
keypad window.
Pressing [Clear] in the <Start TC> group clears the set
playback start point.
To set the playback stop point
To set the current position as the playback stop point, press
[Set] in the <Stop TC> group.
To set a different position, press the [Stop] icon display in
the status area, and enter a timecode value in the numeric
keypad window.
Pressing [Clear] in the <Stop TC> group clears the set
playback stop point.
To change the current position
Press the [Current] icon display in the status area, and enter
a timecode value in the numeric keypad window.
To delete regions outside the playback range
(trimming)
You can delete the region before the set playback start
point and the region after the set playback stop point.
Press [Trim], check the message, then press [Yes].
The following clip files cannot be trimmed.
• A file being played back
• A file recalled on a locked FM output
• A file in a locked folder
Playing a clip (device control block)
You can play a clip recalled on an FM output, from the
menu, using the device control block (trackball).
For details about the buttons in the device control block
(trackball), see “Device Control Block (Trackball)”
(page 40) and “Controlling the Tape/Disk Transport”
(page 288).
The [FM1 CLIP] to [FM20 CLIP] buttons must be
assigned to the channel selection buttons beforehand in the
Setup menu
.
1
Press the [DEV] button.
2
Select the target frame memory clip (FM1 CLIP to
FM20 CLIP) using the channel selection buttons.
In pair mode, the channel selection buttons for main
and sub are lit.
3
Press the [PLAY] button.
The [PLAY] button is lit amber, and playback starts.
To stop playback, press the [STOP], [SHTL], [JOG],
[CUE], [REW], [FF], or [ALL STOP] button.
To set the playback start point
To make the current position the playback start point, press
the [START TC] button.
To set the playback stop point
To make the current position the playback stop point, press
the [STOP TC] button.
To repeat playback (looping)
Press the [FM LOOP] button.
To control variable speed playback
Press the [JOG], [SHTL], or [VAR] button, then turn the
Z-ring. The image changes in the forward direction when
you turn the Z-ring clockwise, and in the reverse direction
when you turn it counterclockwise.
When the [JOG] button is pressed:
Playback is at a
speed corresponding to the turning speed of the Z-ring.
When the [SHTL] button is pressed:
Playback is at a
speed corresponding to the angle of the Z-ring.
When the [VAR] button is pressed:
Playback is at a
speed in the range –1 to +3 times normal speed
corresponding to the angle of the Z-ring.
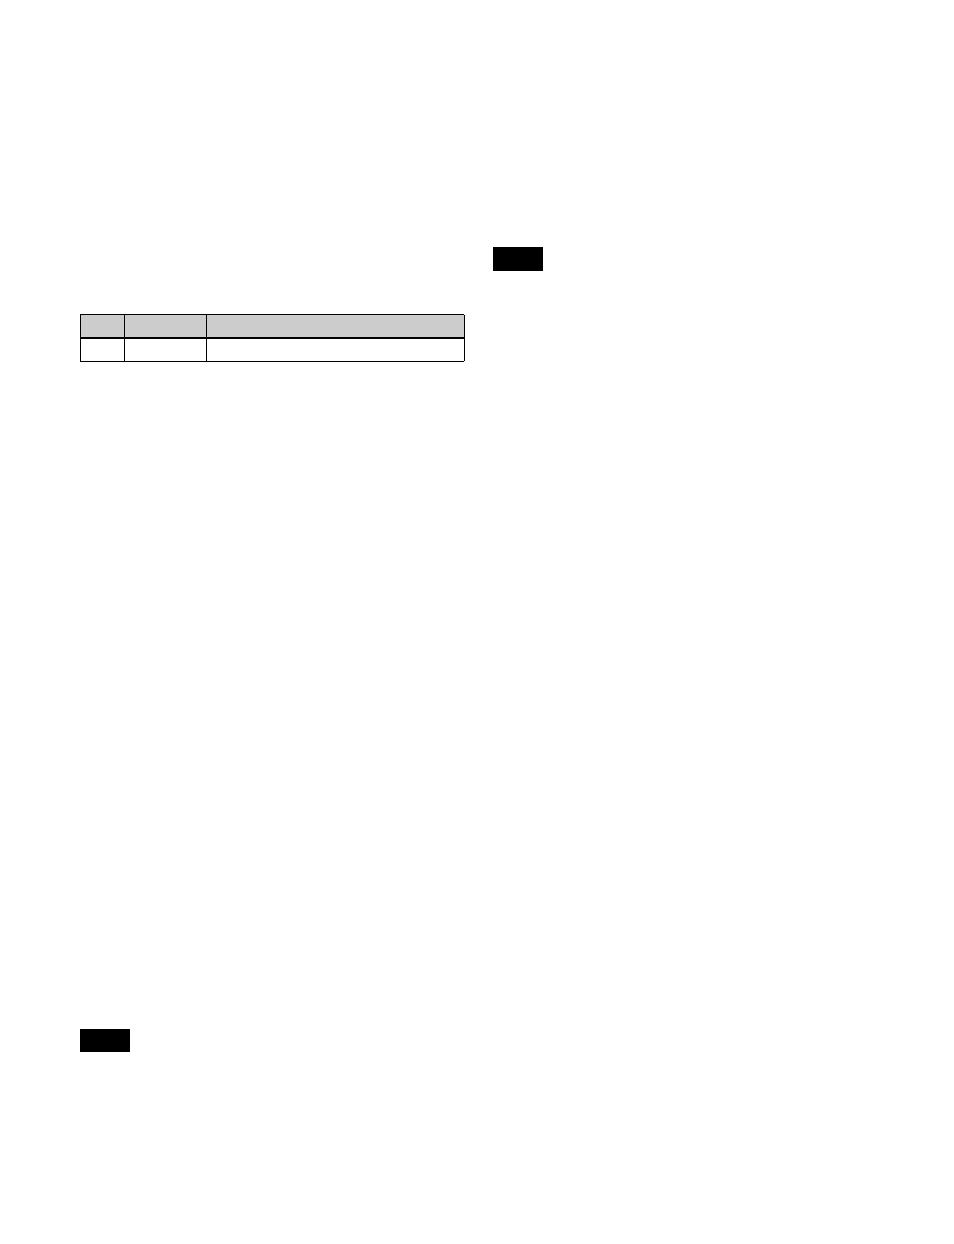
No.
Parameter
Adjustment
3
Speed
Playback speed
Note
Note