Sony GP-X1EM Grip Extension User Manual
Page 331
331
M/E1 to M/E5, P/P, USER1 to USER8,
DME1 to DME4, RTR, ALL
For details about region selection, see “Region
selection in the numeric keypad control block”
(page 307).
For details about saving a master snapshot, see
“Creating and saving a master snapshot” (page 332).
The display shows the selected region name and the
last recalled register number.
4
Press the [STORE] button, turning it on.
5
Use the numeric keypad to enter the number of the
register in which you want to save.
The display shows the selected register number.
For details about selecting a register, see “Register
selection in the numeric keypad control block”
(page 307).
If you press a button in which a snapshot is already
saved, the existing contents of the register will be
overwritten.
6
, press the following
buttons, turning them on.
In the numeric keypad control block, it is not possible
to add the cross-point hold attribute. When adding
attributes, use the menu
7
Press the [ENTER] button.
This saves the snapshot in the specified register.
The [RCALL] button and the [STORE STATS] button
light amber.
To cancel a snapshot save operation
While the [STORE STATS] button is lit amber, press and
hold the [STORE STATS] button and press the [UNDO]
button.
Recalling a snapshot
1
In the numeric keypad control block, press the
[SNAPSHOT] button.
The control block switches to snapshot operation
mode, and the [SNAPSHOT] button and [RCALL]
button light amber.
2
Use the region selection buttons to select the target
region of the operation.
You can select more than one button.
The following region selection buttons can be operated
for snapshots.
M/E1 to M/E5, P/P, USER1 to USER8,
DME1 to DME4, RTR, ALL, MASTR
For details about region selection, see “Region
selection in the numeric keypad control block”
(page 307).
3
Use the numeric keypad buttons to enter the register
number to be recalled.
The display shows the selected register number.
For details about selecting a register, see “Register
selection in the numeric keypad control block”
(page 307).
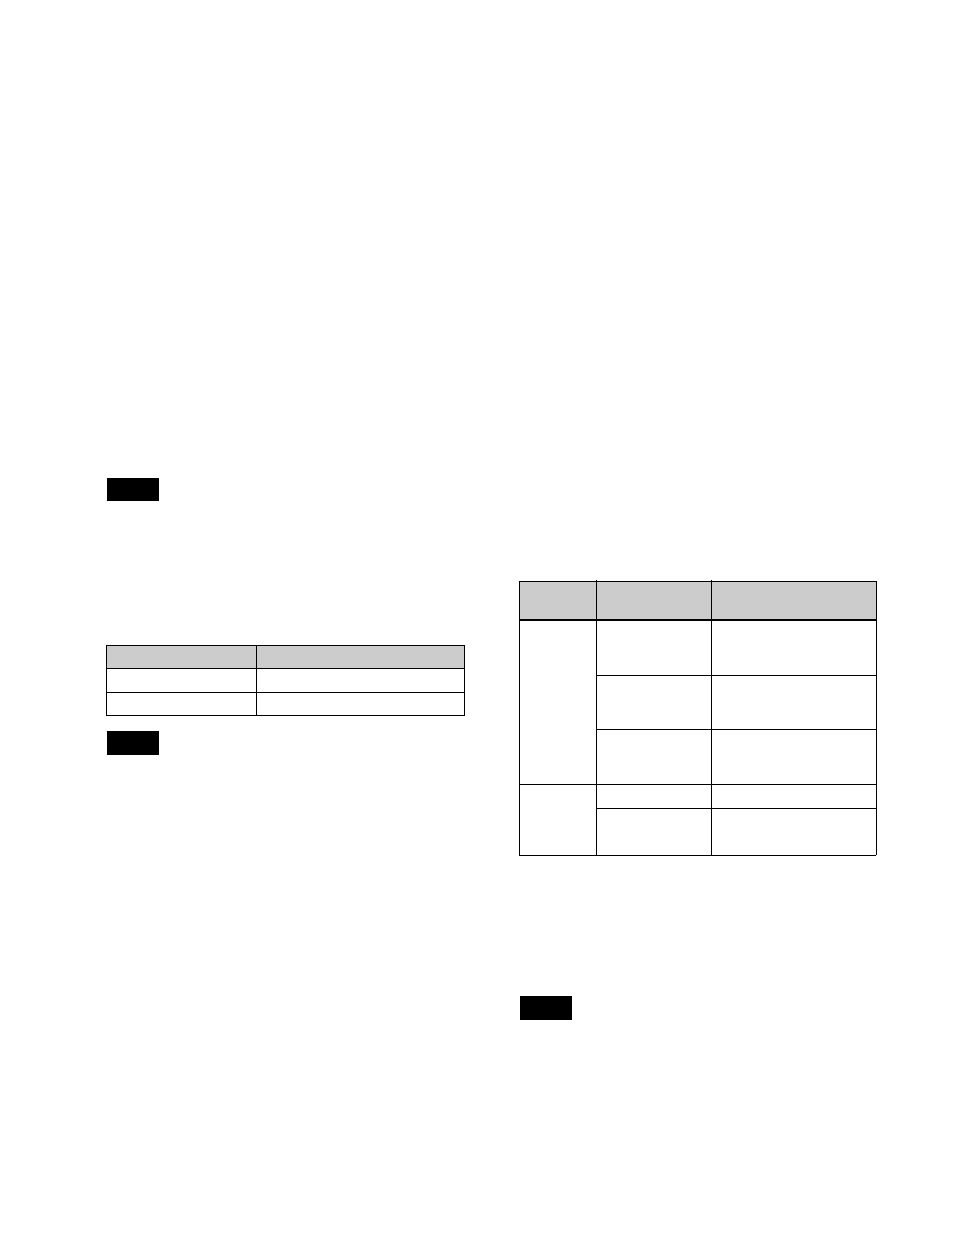
4
To add temporary attributes
, press the
following buttons, turning them on.
a) When the operation mode is set to [Xpt Hold] in the Setup menu.
b) When the operation mode is set to [Key Disable] or [Key Dsbl with
Status] in the Setup menu.
For details about operation modes, see “Setting the
operation mode of a cross-point hold button on the key
bus” (page 471).
• The cross-point hold and key disable settings are
maintained until you next press and release the
cross-point hold button.
• Adding a temporary attribute does not affect the
attribute settings saved in registers.
Note
Attribute
Button
Effect dissolve
[EFF DISS] button
Auto transition
[AUTO TRANS] button
Note
Control
block
Temporary
attribute
Button
Cross-
point
control
block
A/B bus cross-
point hold
[XPTHLD A] and
[XPTHLD B] buttons of
the cross-point pad
Key cross-point
hold
[XPTHLD KEY1] to
[XPTHLD KEY8] buttons
of the cross-point pad
a)
Key disable
[XPTHLD KEY1] to
[XPTHLD KEY8] buttons
of the cross-point pad
b)
Numeric
keypad
control
block
Effect dissolve
[EFF DISS] button
Auto transition
[AUTO TRANS] button
Notes