Snapshot status display, Setting key snapshot attributes, Creating and saving a master snapshot – Sony GP-X1EM Grip Extension User Manual
Page 336

336
To add the auto transition attribute
Press [Auto Transition], turning it on.
To add clip auto play
Only the region in frame memory assigned to the user
region is configurable.
For details, see “Setting User Regions” (page 443).
1
Press [Clip Auto Play].
The Clip Auto Play menu (6321.2) appears.
2
In the <Frame Memory Select> group, select the target
frame memory to set.
3
Press [Auto Play], turning it on.
Snapshot Status Display
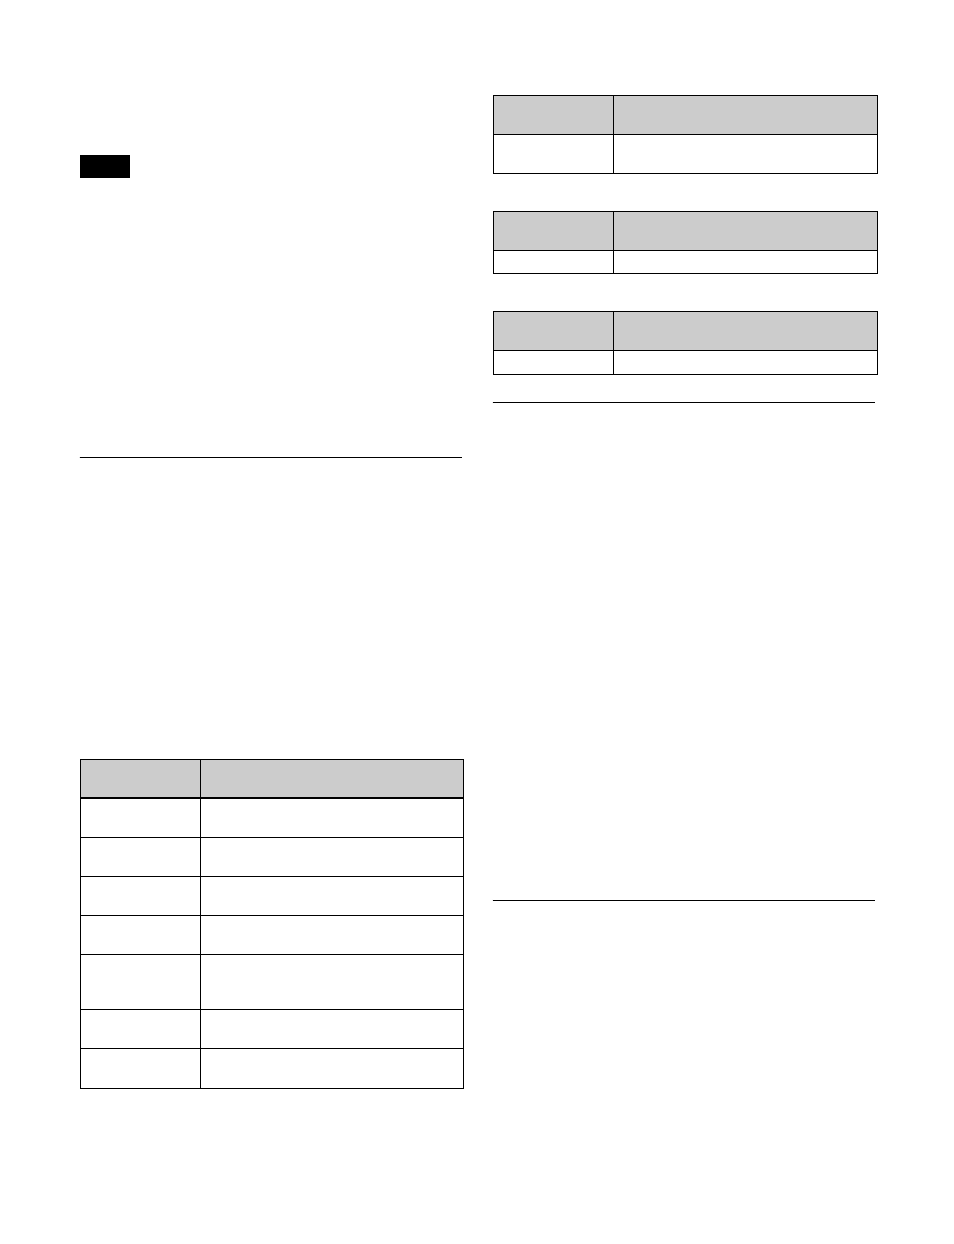
The Snapshot >Snapshot >Attribute menu (6321) displays
the following information.
Region name:
The selected region name appears in the
upper part of the list.
Register number
Register name
Lock status:
When the register is locked (write-
protected), “L” is displayed.
Empty status:
When the register is empty, “E” is
displayed.
Attribute settings:
The attributes set for a register are
shown by the following character codes.
• When the cross-point hold attribute is added
• When the effect dissolve attribute is added
• When the auto transition attribute is added
• When clip auto play is added
Setting Key Snapshot Attributes
Adding attributes to a key snapshot
1
Open the Snapshot >Key Snapshot >Attribute menu
(6351).
The status area shows the region names, register
numbers, and the lock status.
2
Press the region display in the upper part of the list,
then select the region in the selection window.
3
Select a register.
4
In the <Recall Mode> group, set the state when saving
and recalling the register.
XPT:
Only the key material selection data is saved or
recalled.
Modifier:
The key modifier settings are saved or
recalled.
Transition:
The independent key transition settings
are saved or recalled.
Creating and Saving a Master
Snapshot
Open the Snapshot >Master Snapshot >Store menu (6311),
and use the same procedure for creating and saving a
master timeline.
For details, see “Creating and Saving a Master Timeline
(Menu)” (page 324).
Note
Displayed
character codes
Attributes set
A, B
Cross-point hold is set for the A or B
background bus.
1, 2, 3, 4, 5, 6, 7,
8
Cross-point hold is set for key bus 1, 2,
3, 4, 5, 6, 7 or 8.
U1, U2
Cross-point hold is set for the utility 1 or
utility 2 bus.
D2
Cross-point hold is set for video bus
selected for 2nd DME channel.
FvFkBvBk
Cross-point hold is set for all of the DME
front video bus, DME front key bus, DME
back video bus, and DME back key bus.
Aux
Cross-point hold is set for one of the
AUX buses.
RTR
Cross-point hold is set for the Router
region.
Displayed
character codes
Attributes set
Duration value
The effect dissolve attribute is set, with
the displayed duration.
Displayed
character codes
Attributes set
T
Auto transition is set.
Displayed
character codes
Attributes set
On
When clip auto play is set