Trail settings – Sony GP-X1EM Grip Extension User Manual
Page 264
264
Trail Settings
Enabling Trail automatically disables Motion Decay,
Keyframe Strobe, or Wind if it is set.
Applying the Trail effect
1
Open the DME >Light/Trail >Trail menu (4152).
2
Press [Trail], turning it on.
3
Set the following parameters.
a) 0.00 represents no afterimage. 100.00 represents no decay in the
afterimage.
Selecting the priority between the current
image and superimposed trail
In the <Priority> group of the DME >Light/Trail >Trail
menu (4152), select the way in which the images are
overlaid.
Over:
Input image is on top.
Under:
Afterimage trail is on top.
Selecting the signal for the afterimage
portion
In the <Trail Source> group of the DME >Light/Trail
>Trail menu (4152), select the image to insert in the
afterimage trail.
• Only [Mix Color] or [Ext Video] can be used between
the Background
, Flex Shadow
effects. If
[Mix Color] or [Ext Video] is selected for one of these
effects, the [Mix Color] or [Ext Video] for the other
effects is disabled, and [Flat Color] is selected in its
place.
• When executing a 4-channel combination, [Mix Color]
and [Ext Video] cannot be selected.
Freeze Video:
Freeze the input image to use as the
afterimage.
Flat Color:
Uses a single color matte as the afterimage.
You can set the following parameters.
Hue Rotate:
Use a color matte whose hue varies slightly
with each frame for the trail of the afterimages. You
can set the following parameters.
Mix Color:
Insert a mix color signal
in the
afterimage portion.
Ext Video:
Insert an external video signal input from Ext
In in the afterimage portion.
Rainbow:
Use a freeze image with the hue changing every
frame in the afterimage portion. The difference from
[Hue Rotate] is that many colors appear
simultaneously. You can set the following parameters.
Erasing the afterimages that remain in
memory whenever a keyframe is passed
In the DME >Light/Trail >Trail menu (4152), press [Trail
Eraser], turning it on.
When the effect passes a keyframe, the afterimage is
erased before writing a new afterimage.
Selecting the freeze timing
In the <Trail Freeze Timing> group of the DME >Light/
Trail >Trail menu (4152), select the timing for freezing a
trail.
Frame:
Freeze in frame units.
Field:
Freeze in field units.
When the signal format is 3840×2160P 2SI, 1080P,
1080PsF, or 720P, the freeze timing cannot be specified.
Defocusing the afterimage portion (Defocus)
1
In the DME >Light/Trail >Trail menu (4152), press
[Defocus], turning it on.
2
Set the following parameters.
Note
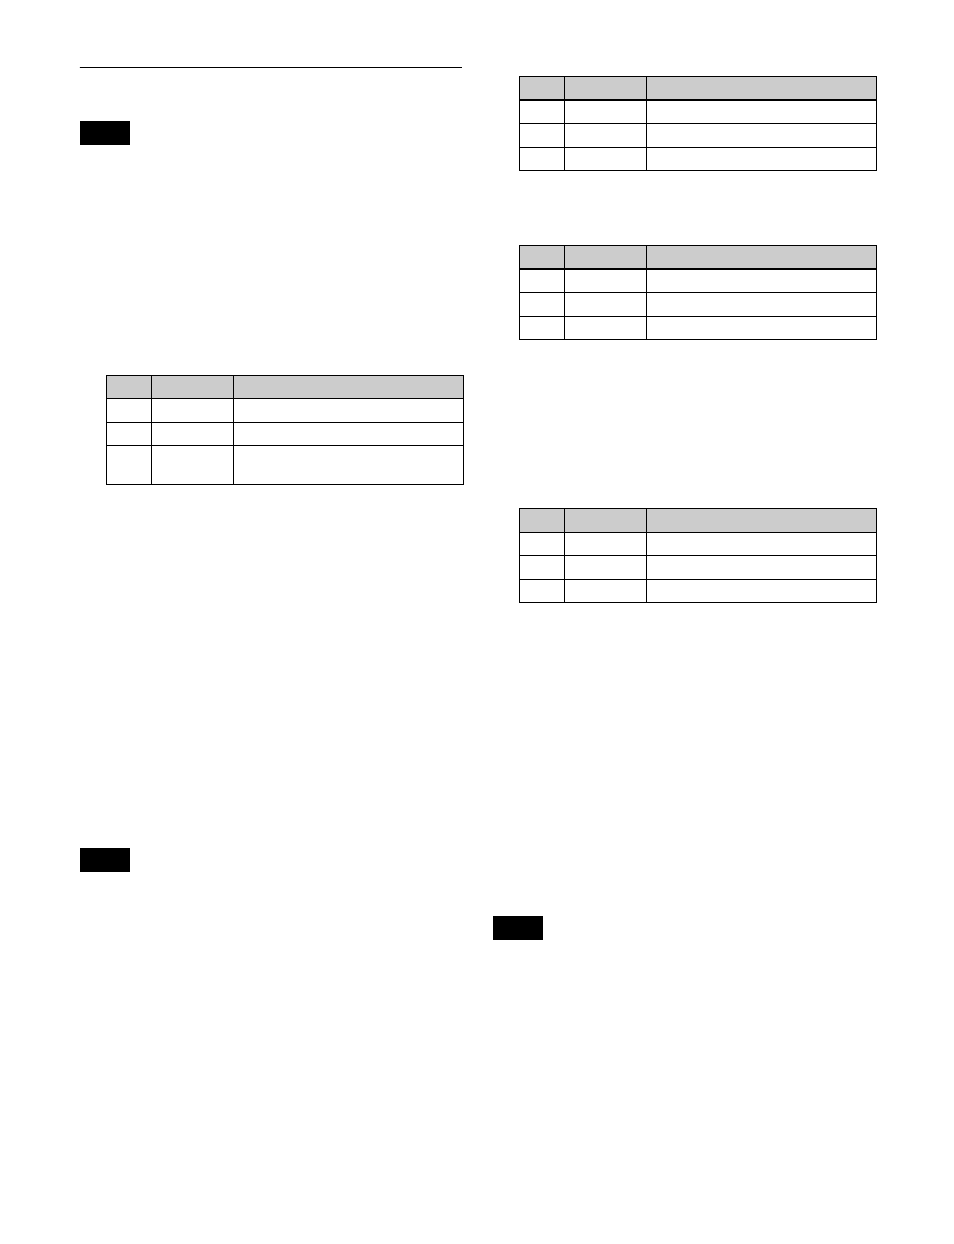
No.
Parameter
Adjustment
1
Decay
Amount of afterimage displayed
a)
2
Interval
Freeze interval
3
Live
Proportion of time between frozen
images for inserting live video
Notes
No.
Parameter
Adjustment
1
Luminance
Luminance
2
Saturation
Saturation
3
Hue
Hue
No.
Parameter
Adjustment
1
Luminance
Luminance
2
Saturation
Saturation
3
Hue Speed Speed at which the hue changes
No.
Parameter
Adjustment
1
Luminance
Luminance
2
Saturation
Saturation
3
Hue Speed Speed at which the hue changes
Note