Setting and canceling a macro, Attachment, Setting and canceling a macro attachment – Sony GP-X1EM Grip Extension User Manual
Page 365
365
a) In the case of an event that inserts or removes a key, the state at the time
of event registration (inserted or not inserted) is also saved in the macro.
When the macro is executed, the event is only replayed if the key state
matches the saved state.
Example: For a macro with an event that removes a key, when the macro
is executed, the key is removed if it is inserted, but otherwise remains
unchanged.
• After setting a macro attachment to a cross-point button
in the AUX bus control block (AUX bus operation
mode), if in the Setup menu you change the assignment
of buses to the 1st row/2nd row delegation buttons, the
macro attachment setting disappears.
• After setting a macro attachment to a 2nd row cross-
point button in the cross-point control block in key/AUX
bus delegation mode, if in the Setup menu you change
the assignment of buses to the 1st row delegation
buttons, the macro attachment setting disappears.
• After setting a macro attachment to a button for which
you can perform function replacement or function
assignment, if you change the function assignment to the
button, the macro attachment setting disappears.
• After setting a macro attachment to a cross-point button
in the cross-point control block, if you change the
function assignment to the button, the macro attachment
setting disappears.
Executing a macro attachment
To execute a macro assigned to a button or fader lever in a
macro attachment, macro attachments must be enabled.
The enable/disable setting is switched using buttons on the
cross-point pad of the cross-point control block or buttons
assigned with a utility command. You can set to
permanently enable or disable macro attachments in the
Setup menu.
Setting and Canceling a Macro
Attachment
Setting the register to assign in a macro
attachment
You can select a macro register (1 to 999) to assign to a
control panel button or a fader lever.
• When a macro register is recalled, for example on the
numeric keypad control block or Flexi Pad control
block, the macro attachment register setting is also
changed in conjunction.
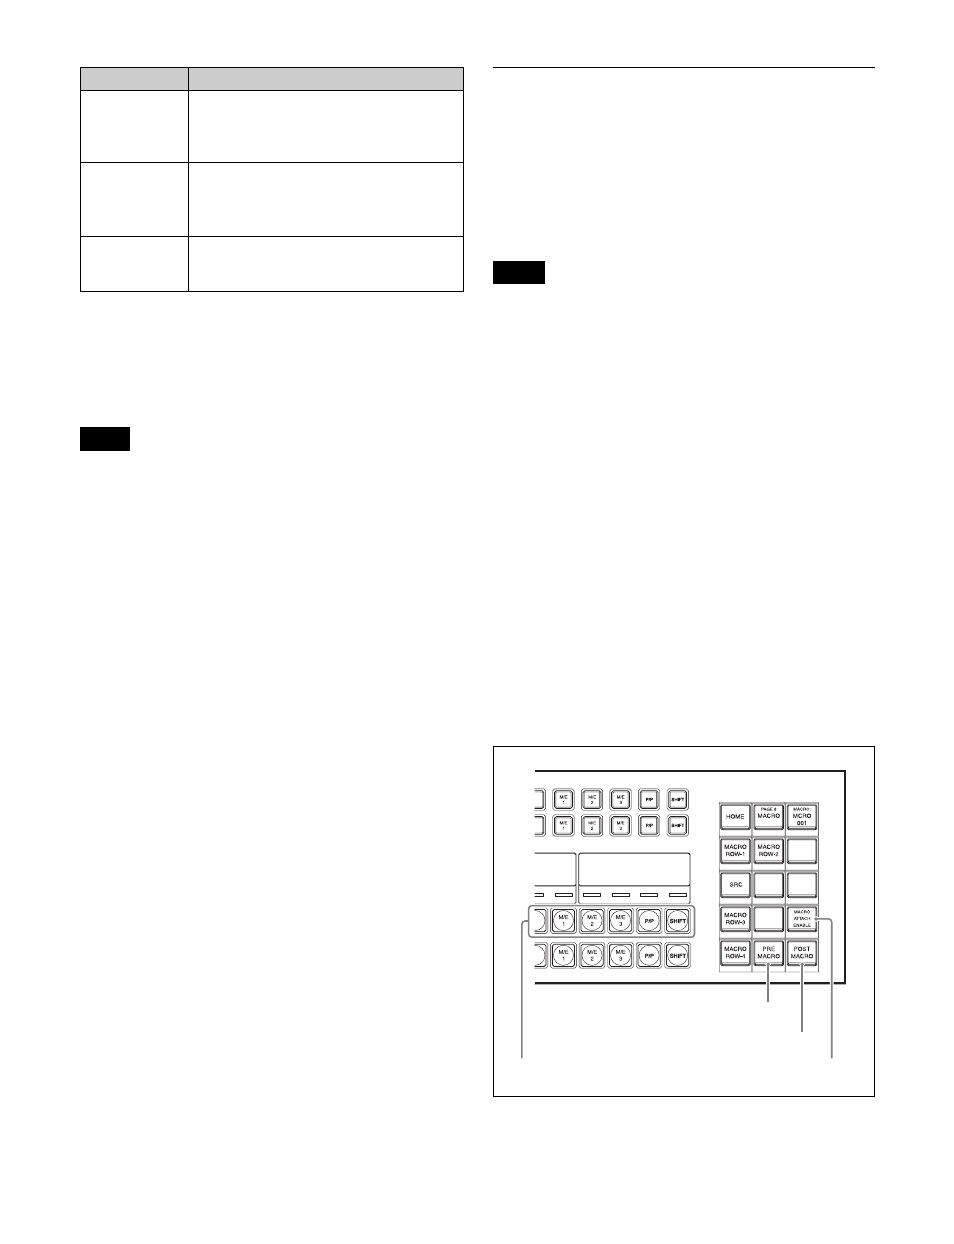
• The name of the macro attachment register is displayed
on the macro register display button while the [PRE
MACRO] button or [POST MACRO] button is pressed
on the cross-point pad of the cross-point control block.
1
Open the Macro >Register >Attach menu (5411).
2
In the list on the left of the status area, select the macro
attachment register.
3
Press [Set].
The selected register name appears on the right side of
the status area.
Setting a macro attachment to a button
This section describes setting a macro attachment to a 3rd
row cross-point button in the cross-point control block as
an example.
Cross-point control block
Independent
key transition
control block
Buttons assigned with the following
functions.
• Auto transition
a)
• Key on/off
a)
Key fader
control block
Buttons operating the following functions.
• Auto transition
a)
• Key on/off
a)
• Transition type selection
Device control
block (trackball)
VTR/disk recorder/frame memory
operation mode [PLAY], [CUE], [STOP],
and [START TC] buttons
Notes
Control block
Button
Notes
PRE MACRO button
MACRO ATTACH ENABLE button
3rd row
POST MACRO button