Test run procedures, Switching the power on, Checking the display status – Yaskawa Matrix Converter User Manual
Page 86
Test Run Procedures
4-
3
Test Run Procedures
This section describes the procedure for performing a test run after the MxC is fully connected.
Switching the Power On
Confirm all of the following items first, and then turn on the power supply.
•
Make sure the power supply voltage is correct.
200 V class: 3-phase 200 to 220 VDC, 50/60 Hz
400 V class: 3-phase 380 to 480 VDC, 50/60 Hz
If connecting an MxC to a power supply with high impedance, such as a Slidax, the power-supply voltage
may rise during regeneration. Contact your Yaskawa representative for details.
•
Use a power supply with a capacity that is the same or greater than the MxC capacity.
•
Make sure that the motor output terminals (U, V, W) and the motor are properly connected.
•
Make sure that the MxC control circuit terminal and the control device are wired correctly.
•
Set all MxC control circuit terminals to off.
•
When using a PG Speed Control Card, make sure that it is wired correctly.
•
Make sure that the motor is not connected to the mechanical system (no-load status)
Checking the Display Status
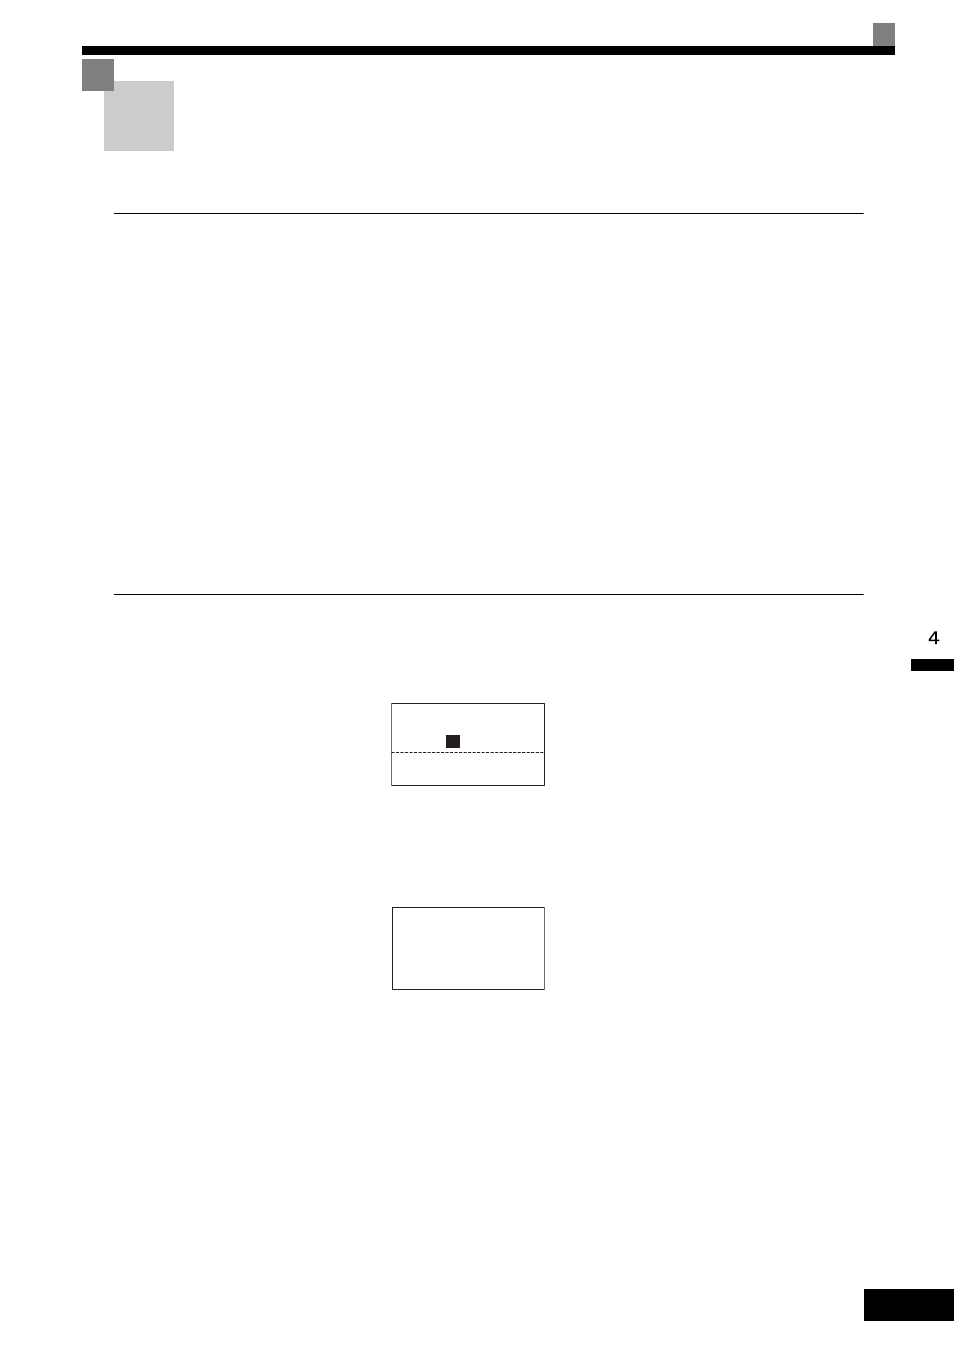
Assuming there are no problems, the digital operator will display the following message when the power is
switched on:
When a fault has occurred, information concerning the fault will be displayed instead of the message shown
above. The user should refer to Chapter 7 Troubleshooting for information on how to remedy a fault situation.
Below is and example of the digital operator display when a fault occurs.
Display during normal
operation when the unit is
first powered up.
The output frequency reference appears
on the digital operator screen.
Operator display when a fault
has occurred.
The display will differ depending on the
type of fault.
A example on the left shows a low voltage
alarm.
-DRIVE-
Frequency Ref
U1-01= 0 0 0.0 0Hz
-DRIVE-
Rdy
Frequency Ref
U1- 01= 60.0 0Hz
U1-03=10.05A
U1-02=60.00Hz
01
01
Frequency Ref
-DRIVE-
UV
PS Undervolt