Print test pattern, Print a label setup pattern – Rockwell Automation 9323-S5500D A.I. SERIES MICROLOGIX 1000 AND PLC-500 SOFTW User Manual
Page 286
MicroLogix 1000 and PLC-500 A.I. Series Software Reference
11-50
8.
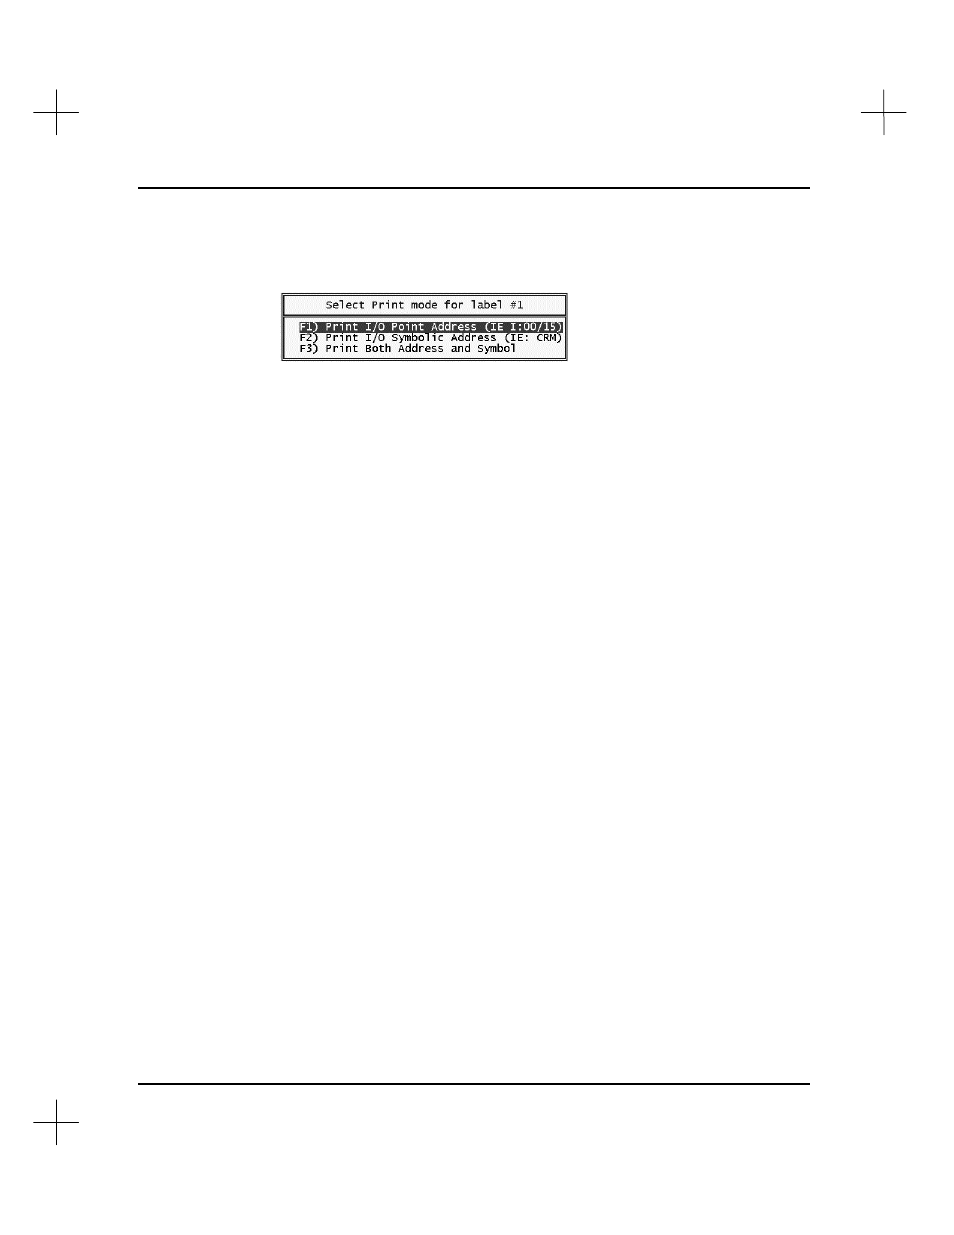
The next prompt provides options to print the address, symbol or both for each
label. (If you selected 2 or fewer lines per label, the third option below,
[F3]
Both Address and Symbol
, will not be available.)
The top portion of the window indicates to which label number the assignment
corresponds. (You will select a print mode for the number of labels you specified
in step 7 above.)
Modify or Delete Existing Label Type
To modify or delete an existing label type:
1.
Use the up and down arrow keys to move the highlight bar over the label type you
want to modify or delete.
2.
Press
[F1]
Modify
to change the label type, or press
[Del]
to delete the label type.
3.
If you are modifying an existing label type, follow steps 2-8 under
Create New
Label Type
above.
Print Test Pattern
Select
[F2]
Print Test Pattern
to print two sets of labels to check the format. The
system sends any print jobs to the current print device defined by the
Configure
Printer
option on the Reporting Options menu, first sending the printer initialization
string for the selected print device along with the wire labels.
Print a Label Setup Pattern
You may print a setup pattern to help you determine a custom format for your labels.
The setup pattern consists of the characters 1234567890 repeated across the width of
the current print device (either 80 or 132 columns) and 15 rows down. You can use
this pattern to determine the correct spacing for your labels.
To print a setup pattern, select
[F3]
Print a Label Setup Pattern
from the Wire Label
Options menu.