4 click save, Nvr2p32, How to configure an rp32 remote panel – Grass Valley NV9000-SE v.3.0 User Manual
Page 355: Control panels

NV9000-SE Utilities • User’s Guide
335
11. Control Panels
Adding a Control Panel
4 Click
Save
.
Or
To revert to the previously saved configuration, click
Revert to Saved
.
5 Click
X
on the window title tab to close the page.
NVR2P32
The ‘NVRP32’ page determines how a CR Series control panel mounted on the RP32 remote panel
module functions and displays. For a full description of the module and functions, see
S
This page configures the remote panel module, but the configuration is entirely on the basis of
the control panel that you have mounted (or plan to mount) on the remote panel module.
The ‘NVRP32’ page is divided into sections:
• Button Layout
—
A graphic representation of the remote panel module.
• Button Definitions
—
Assigns a function to the currently selected button in the ‘Button Layout’
field. The options available as definitions change depending on the options selected in the
‘Panel Options’ section.
• Panel Options
—
Specifies panel behavior, such as default mode.
The remote panel options, button layout and button definitions are configured using the ‘NVRP32’
page. When saved, the configurations are communicated to the physical remote panel module and
appear to the operator using the panel.
How to Configure an RP32 Remote Panel
1 Add an RP32. (See
Or
Locate the RP32 being updated. (See
How to Locate and View Existing Control Panels
347.)
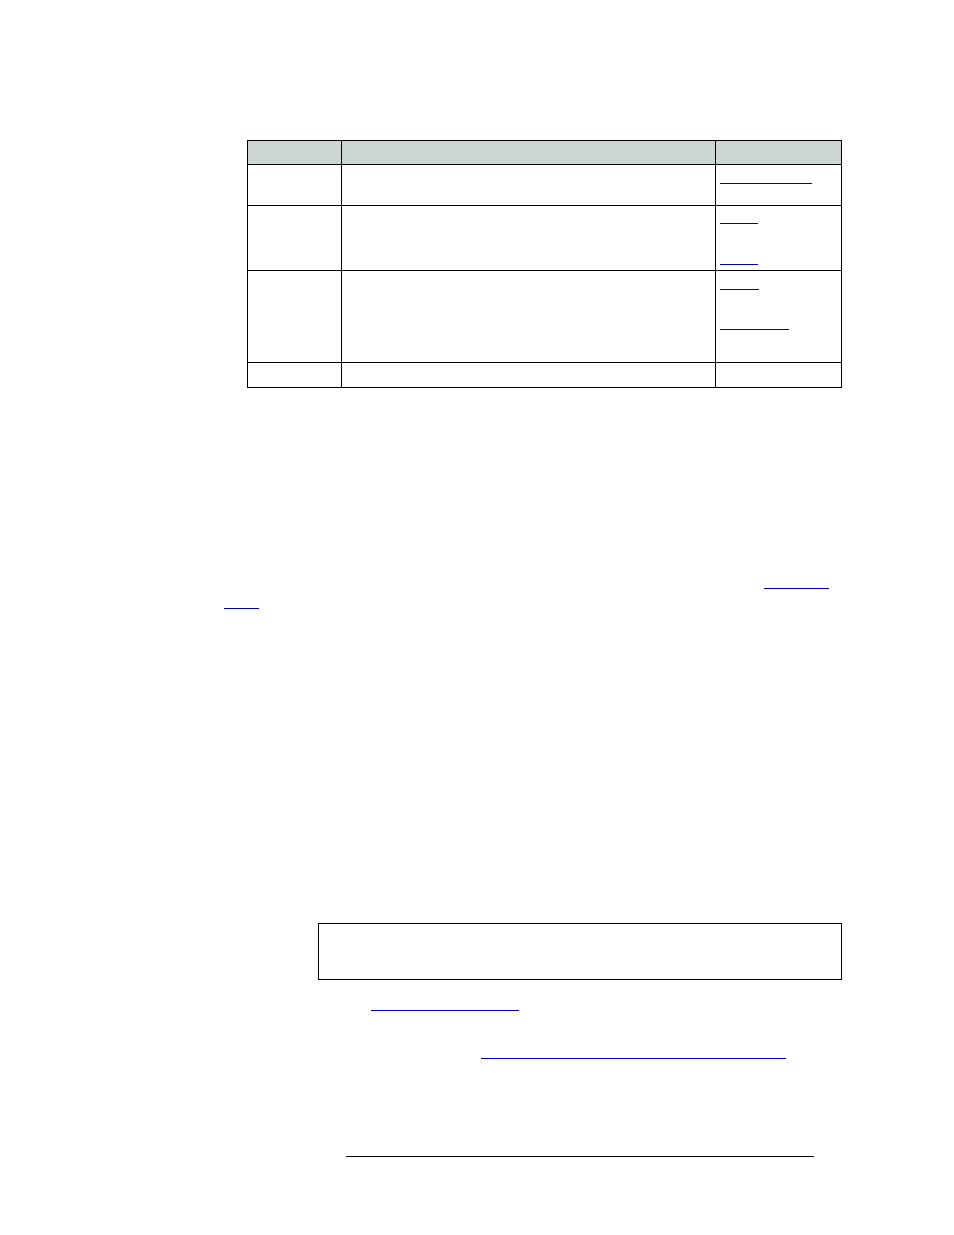
Previous
Source
Immediately restores the previously selected source to the
current destination (similar to an “undo” button).
Salvo
The button either executes a salvo or arms a salvo (where a
second press executes the salvo). When you assign Salvo to a
button, a drop-down list appears in which you select a salvo ID.
and
Source
Loads a predefined source device into the preset column, ready
for selection by pressing Take.
When you assign ‘Source’ to a button, a drop-down list appears
in which you select a source(s). Select a level from ‘Level Set
Filter’ to limit the sources to only those assigned to that level.
and
Undefined
Makes the button undefined and inactive. It will remain unlit.
--
Important
When configuring the control panel, it is important to select control panel options
first. This determines the subsequent button definitions.
Button
Description
Related Topic